As I've been away for almost a month there hasn't been much time for wargaming, modelling or to generate so many new modelling-projects for April. Now I'm back again, so I'm slowly starting to get something on the workbench again by preparing new modelling-projects by firstly making parts for them on the 3D-printer.
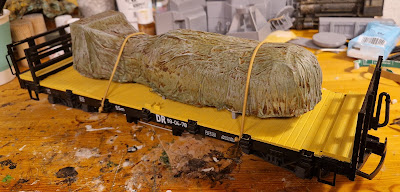
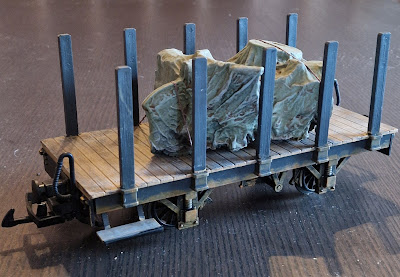
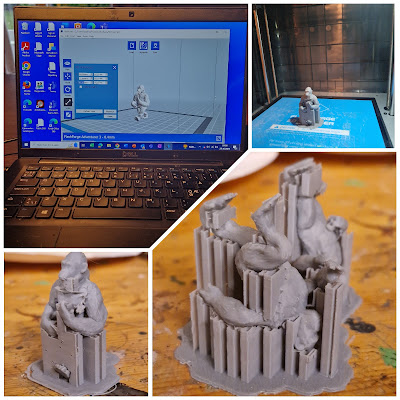
A friend and a member of my MRC was inviting other friends and members for a running-session on his garden railway this Easter, and I wanted to give him something back and an item for an 'Easter egg hunt' in his own garden and within my rake. Not making the gift too obvious it needed to be camouflaged into something that could be loaded on my military garden trains. Some few more pieces were 3D-printed.
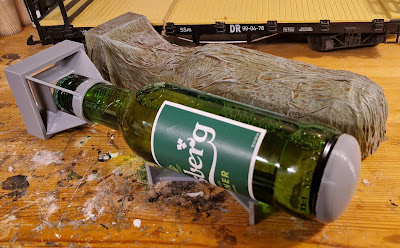
Assembled on a bottle of beer it becomes more obvious what kind of load I'm turning the gift into. Bottles of beer are usually best served cold, and they have a shape that can vaguely resembles grenades. That's why I usually just call them "Kalde Granater", which would translate into something like "Cold Grenades", and is a Norwegian jargon for practicing grenades. Despite being an aerial bomb, considering the scale, this is pretty much literally a "Kald Granat" I think.
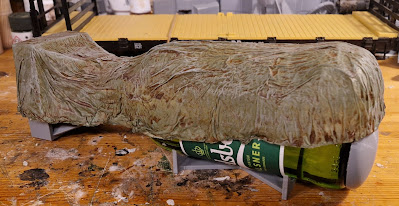
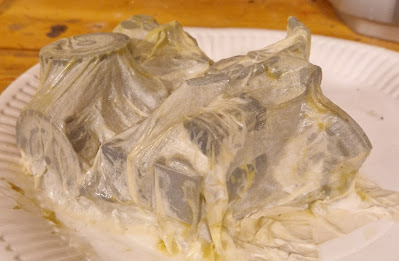
I used gladpack between the bottle and tissue-paper when adding the diluted pva glue, so the tarpaulin could easily be removed from the bottle again and uncover the real load. It lifts of easily as a lid and can be reused several times.
This is another 'project' I've recently printed currently working on, and shows the different stages from a 3D-printed model into an assembled and ready for paint:
 |
| Some models needs to be divided and printed in smaller parts due to my 3D-printer which limits the maximum building size to 15×15×15 cm |
 |
| They needs to be removed from the raft (base) and be cleaned for supports. Then I dryfit the parts to see that they fits each other and adjust if necessary |
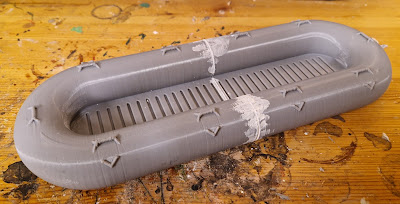 |
| I use CA-glue to attach the parts together. When fully cured I use filler in the cracks and sand them... |
 |
| ...To a smooth finish. This model is printed to a 'standard' resolution and have visible print lines. If you want to remove them you can keep on sanding the model... |
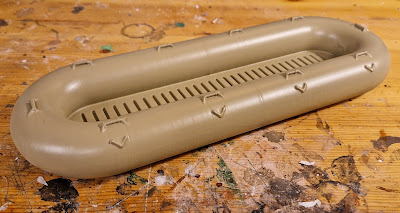 |
| ...or use car filler from a rattle can. This is how smooth it gets with 3 layers. You can sand between the layers, but I didn't do so, and like how it turned out. |
Due to work anf 'every day life' this project is still ongoing, and will return in a future blogpost when ready.
Please follow for updates
Since Alan from The Duchy of Tradgardland showed his 'workbench clutter', I was inspired to show some of mine and reveal a hint or two of what to expect in this blog in the future...












.jpg)


